VA Claims Instructions
Complete each step in order. Check what you finished. When the required checks are complete, the step is DONE.
Save progress with a StegVerse Node (optional)
Register or reuse this device's StegVerse Node to preserve completed guide steps in the same device continuity chain. You can use the full VA Claims Guide without registering.
Checking Node status…
Get ready
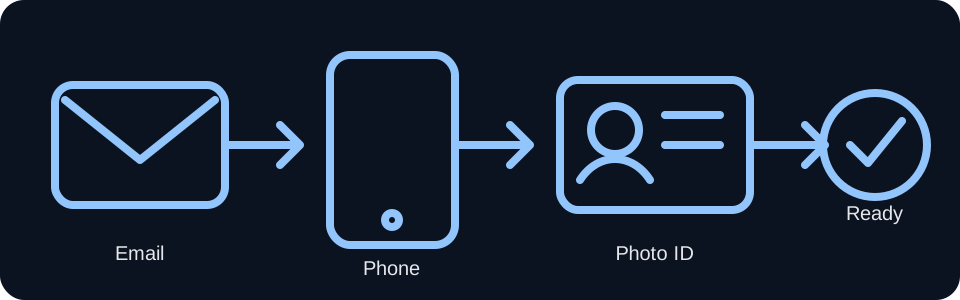
You need 3 things.
Check each item when you have it
When all 3 boxes are checked, Step 1 is marked DONE automatically.
Not done
Create your VA.gov sign-in account
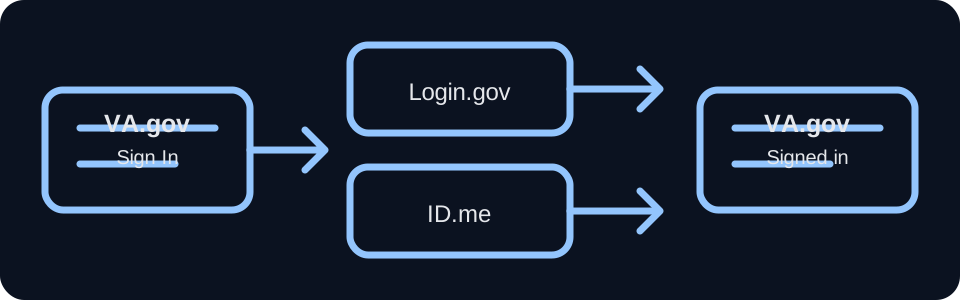
- Tap Open VA.gov Sign In below.
- Choose the sign-in method you prefer: Login.gov or ID.me.
- If you do not already have that account, choose Create account and follow that provider’s instructions.
- Use the email address from Step 1. Watch for the confirming email, open it, and follow its link or instructions to finish creating the account.
- Return to VA.gov and sign in successfully with the account you created.
Not done
Open the VA medical-record download page
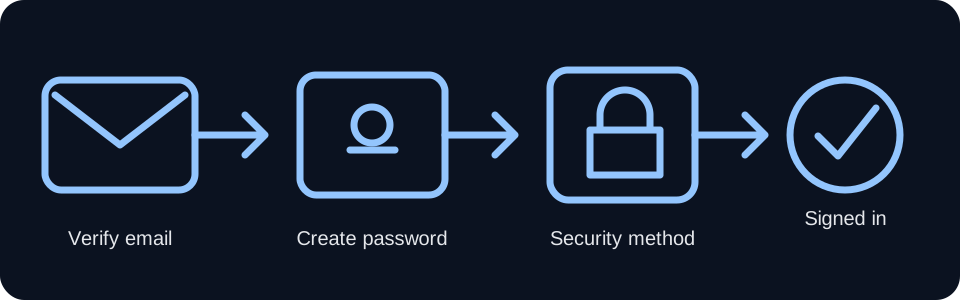
Use the browser link below, or use the VA Health and Benefits app.
Open VA medical-record download pageBrowser route: Open the link above and sign in with the Login.gov or ID.me account you created.
App route: Download or open the official VA: Health and Benefits app. Sign in with Login.gov or ID.me, open Health, then Medical records. If the app shows Review medical records on VA.gov, tap it, then choose the option that takes you to download your medical-record reports.
Get the VA Health and Benefits appApp wording can change. If you cannot find the expected control, use the direct VA.gov browser link above.
Not done
Download all available medical records
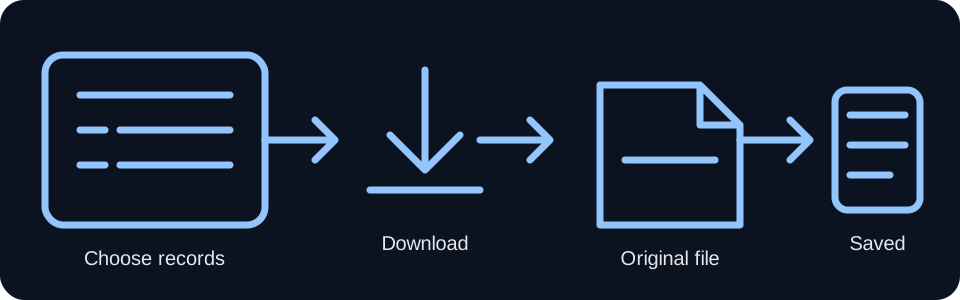
On the Blue Button / download page:
- Under Select the records you want to download, set Date range to All time.
- Set Types of records to include to All.
- For file type, choose PDF or TXT. Either is fine for this workflow.
- Tap or click Download report.
Not done
Find the file on your phone
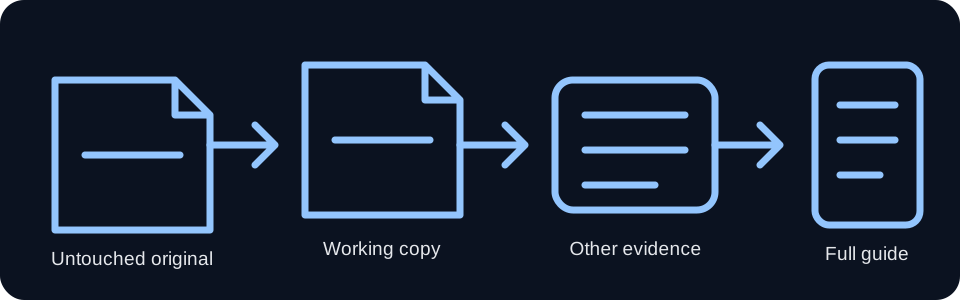
Make sure you can actually find the downloaded file before continuing.
If you used the browser, look in your phone’s Downloads folder. On iPhone, this is usually in the Files app. On Android, look in Files or Downloads.
Not done
Use VA Claims Chat, then submit your final claim
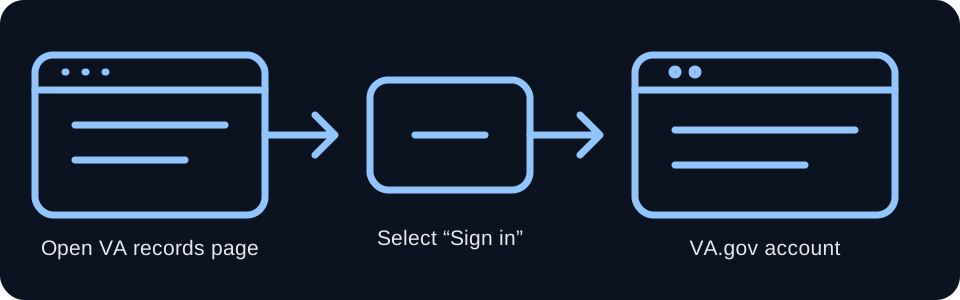
Use VA Claims Chat to review your records and prepare the final claim packet.
Open VA Claims ChatFinal submission fallback: Until VA Claims Chat has an authorized connection that can submit the claim directly to VA.gov, take the completed claim packet to the official VA.gov 21-526EZ claim form below. Sign in, upload the completed packet/supporting files as directed, review the claim, certify it, and submit it through VA.gov.
Open VA.gov 21-526EZ claim formIf VA Claims Chat later shows an authorized VA.gov submission connection and returns a VA submission confirmation, that connected path may replace this fallback. Until then, VA.gov is the final submission path.
Not done