Step 1 of 6
Get ready
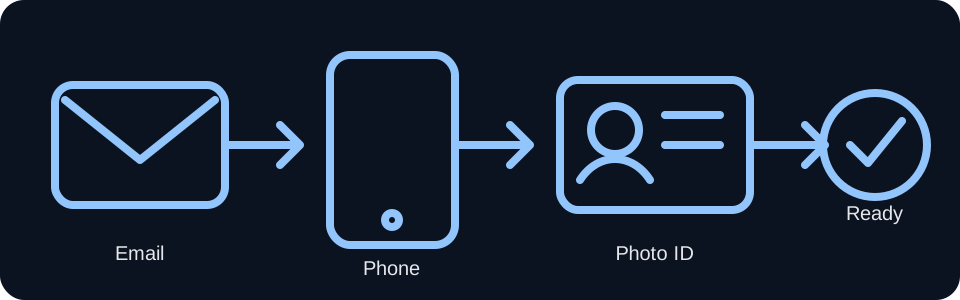
Have all 3 before you continue.
- An email address you can open now, such as example@example.com.
- A smartphone that can use Wi-Fi or cellular data and open a browser.
- A government-issued photo ID, such as a driver’s license, state-issued photo ID, or U.S. passport book.
The email is used during Login.gov or ID.me account setup. Keep the phone and ID with you while creating the account.
Create your VA.gov sign-in account
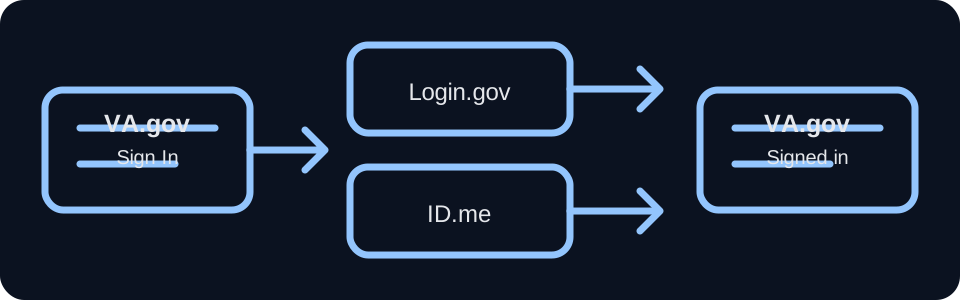
- Open the VA.gov sign-in page.
- Choose Login.gov or ID.me.
- If you do not already have that account, choose Create account.
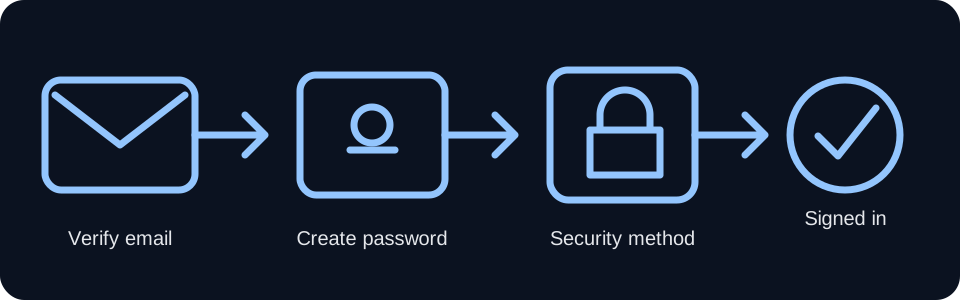
- Use your email address and follow the provider’s instructions.
- Open the confirmation email and follow its link or instructions to finish the account.
- Return to VA.gov and sign in successfully.
Login.gov and ID.me are different sign-in providers. VA.gov accepts either one. Start at VA.gov so you do not have to guess which provider page to visit.
Open the VA medical-record download page
Browser is simplest. The app is an alternate path.
Browser: open the VA.gov link and sign in with Login.gov or ID.me.
App: sign in, open Health, then Medical records. If the app shows Review medical records on VA.gov, select it and continue to the option for downloading your medical-record reports. If the wording is different or you cannot find it, use the direct browser link above.
App: sign in, open Health, then Medical records. If the app shows Review medical records on VA.gov, select it and continue to the option for downloading your medical-record reports. If the wording is different or you cannot find it, use the direct browser link above.
Download all available medical records
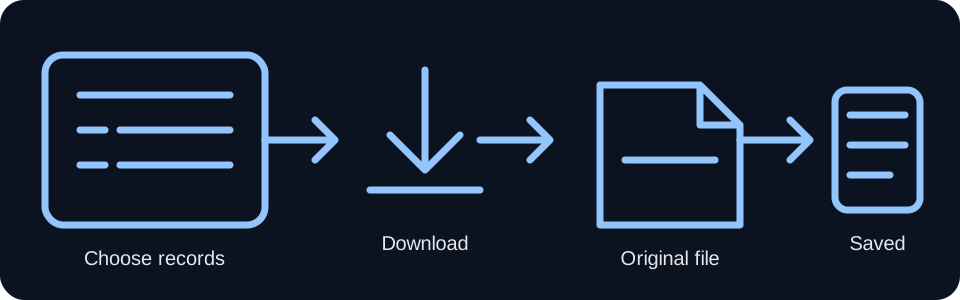
At the Blue Button / download page:
- Date range: All time.
- Types of records to include: All.
- File type: PDF or TXT.
- Select Download report.
PDF and TXT are both acceptable for this workflow. Do not continue until the report has actually downloaded.
Find the downloaded file
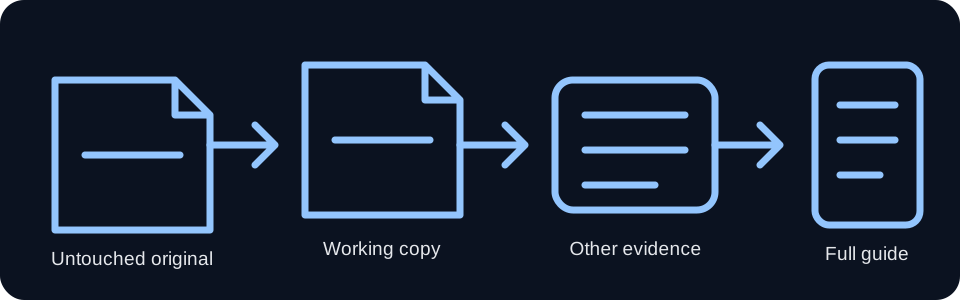
Find the actual PDF or TXT on your phone.
If you used the browser, look in your phone’s Downloads folder. On iPhone, open Files; on Android, open Files or Downloads.
If you used the VA app and cannot find the file, go back to the direct VA.gov browser link in Step 3 and download the report again through the browser. Do not continue until the file is visible on your device.
Prepare and submit your final claim
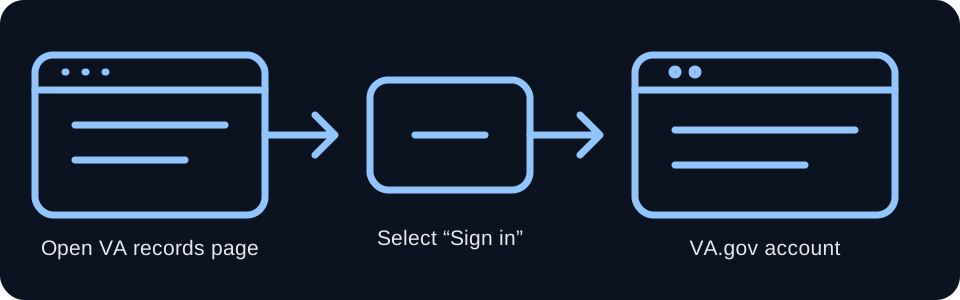
Use VA Claims Chat to prepare the final packet, then make sure the claim is actually submitted.
Upload the medical-record file only if VA Claims Chat presents an active secure file-upload control. If the page says private document upload is not active, do not paste medical records into the text box. Stop at that boundary and follow the instructions shown there.
Final submission fallback: Until VA Claims Chat has an authorized VA.gov connection that can submit the claim and return a VA submission confirmation, use the official VA.gov 21-526EZ claim form above. Upload the completed packet/supporting files as directed, review the claim, certify it, and submit it there.
Official VA pages and app wording can change. Never enter passwords, one-time security codes, or medical records in a normal public text field.